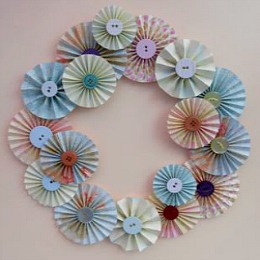
Paper Rosettes
Use this simple technique to make paper rosettes and use them to embellish your paper craft projects or to make a stunning wreath.
|
This technique is made easier if you have a scoring board. I use the Martha Stewart Scoring Board but there are other boards available such as the Scor-Pal. If you don't have a scoring board you can still make the rosettes, it takes a bit longer and a little more work is involved - you will have to score and fold using a ruler and scoring tool. |
Materials
- 12 x 12" sheets of paper or 12" strips - you can use up your paper scraps and you can glue shorter strips together to make 12" lengths.
- Buttons or circles of card for the rosette centers.
- Adhesive - quite strong to stick the ends of the rosettes together.
- Scoring board and bone folder or a ruler and scoring tool.
- Cutting mat and craft knife or scissors.
To make a wreath you will also need a piece of cardboard approximately 12" square and a glue gun.You could try using other glues to construct a wreath but I find a glue gun the easiest to use.
Method
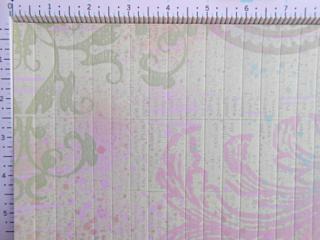
There are two ways to score and fold your paper - you can cut it into strips first and score and fold it, or use a bigger piece of paper and score and fold it first, then cut it into strips. The second way is faster if you want to make a lot of rosettes.
 |
 |
 |
I use strips of paper that are 12" long and I vary the widths from 1/2" to 1 1/4" to make different sizes of paper rosettes.
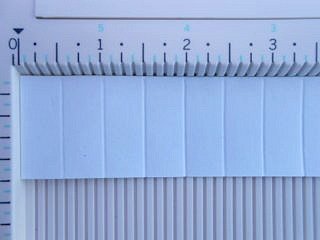
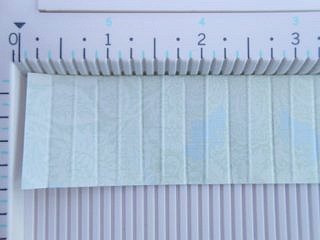
Put the strip ( or larger piece of paper) on your scoring board and starting at the 1/2" mark score along the strip at every 1/2".
Turn the paper over and score again at every 1/2" but this time start at the 1/4" mark.
If you aren't using a scoring board use a ruler to mark where to score and a scoring tool to score the lines ( instructions here).
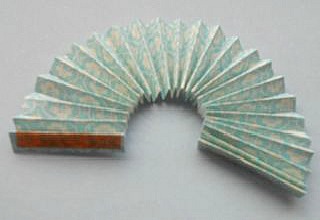
Take your strips and fold along the score lines concertina style - a mountain fold and then a valley fold.
Do this along the full strip. I rub along the completely folded paper with my bone folder to reinforce the creases.
|
Next apply glue or double-sided tape to one end of the strip and bring the other end round, line up the ends and stick them together. |
 |
Glue your button or circle of card in the centre of the rosette. I use a strong glue. Apply it to the button or card and hold it down in the centre of the rosette for a couple of minutes so it all holds together.
Your rosette is now ready to use.
To make a wreath
Take your cardboard - this can be recycled packaging. Decide on the size you would like your wreath to be and draw two circles, based on that size, one inside the other. I used different sized plates as templates to draw round.
Cut out the cardboard ring.
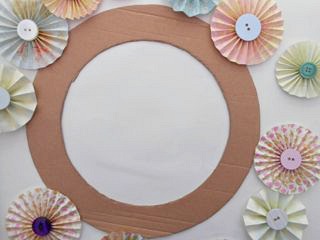 |
You can arrange your rosettes first onto the ring and then place them outside the ring in the correct order ready to glue down - or just take a rosette glue it down and make your arrangement as you go along. |
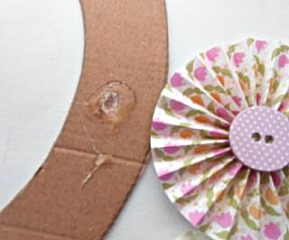
Using a glue gun is probably the fastest and easiest method of sticking the rosettes down, but you could try using other glues.
|
Put a blob of glue onto the ring and stick a rosette down. Keep going all round the ring - covering the card. Layer the edges of the rosettes over each other and you can glue smaller rosettes on top of larger ones for more dimension. |
 |
|
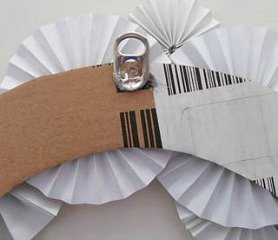
I made a hanger for my paper rosette wreath by gluing a tab from a soda can onto the back of the card circle. |
 |
