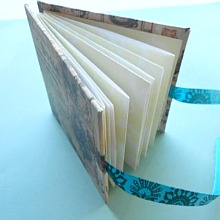
Maze Book Instructions
|
Use these Maze Book instructions to create a folded mini book from one sheet of 12" x 12" paper. These mini books are a fun project to make, as due to their small size you can experiment with different techniques and materials to create their covers. |
Materials
- Sheet of 12" x 12" paper
- 2 pieces of thick card or chipboard - each measuring 3 1/4" square
- 2 pieces of paper - each 4 1/4" square for your book covers
- Adhesive - PVA glue and double-sided tape
- Optional - a piece of ribbon 12" - 14" long
Instructions
Step 1.
Place your 12" x 12" paper on your work surface, pattern side down, and fold it in half. Fold the edge at the opening back to meet the fold. Turn the paper over and repeat with the other edge.
|
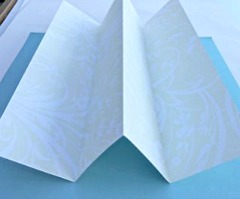
Step 2. Unfold the paper. Your paper should now form a 'W' shape - with the pattern on top. Place the paper pattern side down. Repeat the folds you made in Step 1 - making folds at right angles to the ones you have already made. Unfold the paper and you should now have a grid of 16 squares. |
 |
|
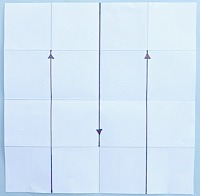
Step 3. Using the template as a guide - cut along the lines that are boldly marked on the template. |
 |
|
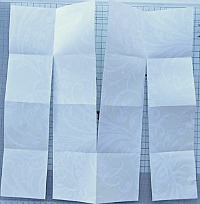
The cuts will form an 'M' shape and the paper will still be joined together. |
 |
|
Step 4. Fold the paper accordion style, following the direction of the folds. Two folds will go back on themselves. Keep the pattern on the inside when folding. |
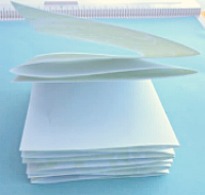 |
Step 5.
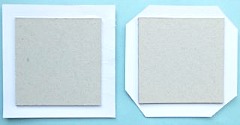
Take the 3 1/4" square cover boards. Apply glue to the boards - I use PVA glue. Place the boards centrally on the wrong side of the 4 1/4" backing papers.
Cut off the corners of the paper, close to, but not right up to the cover boards.
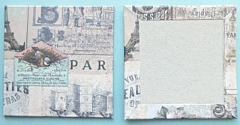
Fold the edges of the paper over the cover boards and glue them down.
 |
 |
 |
Step 6.
Optional - If you want to fix a ribbon tie to your book, follow this step.
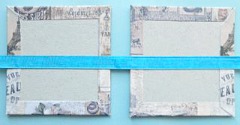
Place the two cover boards, wrong side facing up, approximately 1/4" apart.
Place a length of double-sided tape along the center of each book cover. Stick the piece of ribbon to the tape. (shown above)
Step 7.
Apply adhesive to the two end pages and stick them centrally onto the cover boards.
When the glue has dried I go through my maze book and stick some of the pages together, using a glue stick, to make thicker pages. On other pages I glue along one or two edges to create pockets.
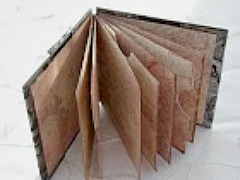 |
When you have made one maze book you will want to make more. Try using fabric, wrinkled tissue paper, stamps, vintage papers etc to make the covers. Embellish them any way you choose or use altered art techniques on them to create mini works of art. |
Maze Book Instructions > Handmade Books > The PaperCraft Room
